
I already have a light box so to speak - however it is on an upright angle so we are limited to what we can do on it.

We really like it – but there is so much more that can be explored on a flat table. However to purchase one is quite expensive. I have seen many cool light tables created by some of the great bloggers out there, but I tried to make one and I didn’t like my results – so I have now created one of my own designs.

I started with an old drawer I got from the reuse centre.


The ugly front needed to come off… 

…and so did the slider! Thanks handy hubby! J

Then I marked the inside of the drawer where I wanted mini shelf brackets to go. These are going to hold up my Plexiglas.

Then hubby drilled the holes.
In went the brackets.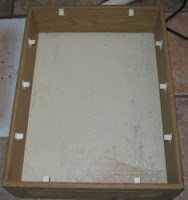


However a very nice man at a Plexiglas company donated a new piece! J

Clear is NOT a good choice for a light box so…. 

It worked out awesome!

Then the sides needed to be addressed – they were yucky!

Even the drill holes could be seen – and not avoided.

So I covered them with tacky paper as well! This time wood grained pattern.
 I popped in a tap light for now – but there will be a stronger one in later – but the overall look is awesome! J
The entire light box cost me:
- $2 for the drawer
- $5 for the brackets
- $8 for the broken Plexiglas (next time I will just beg for free to begin with)
- $2 for tacky paper.
For $17 I got a cool light box! So what do you think?


Update: So here are the lights I settled with - they are very bright and work great. I still have to secure them in the box. They are from an Ikea light system - I got it at a reuse centre for $2. So the entire light box is still under $20.
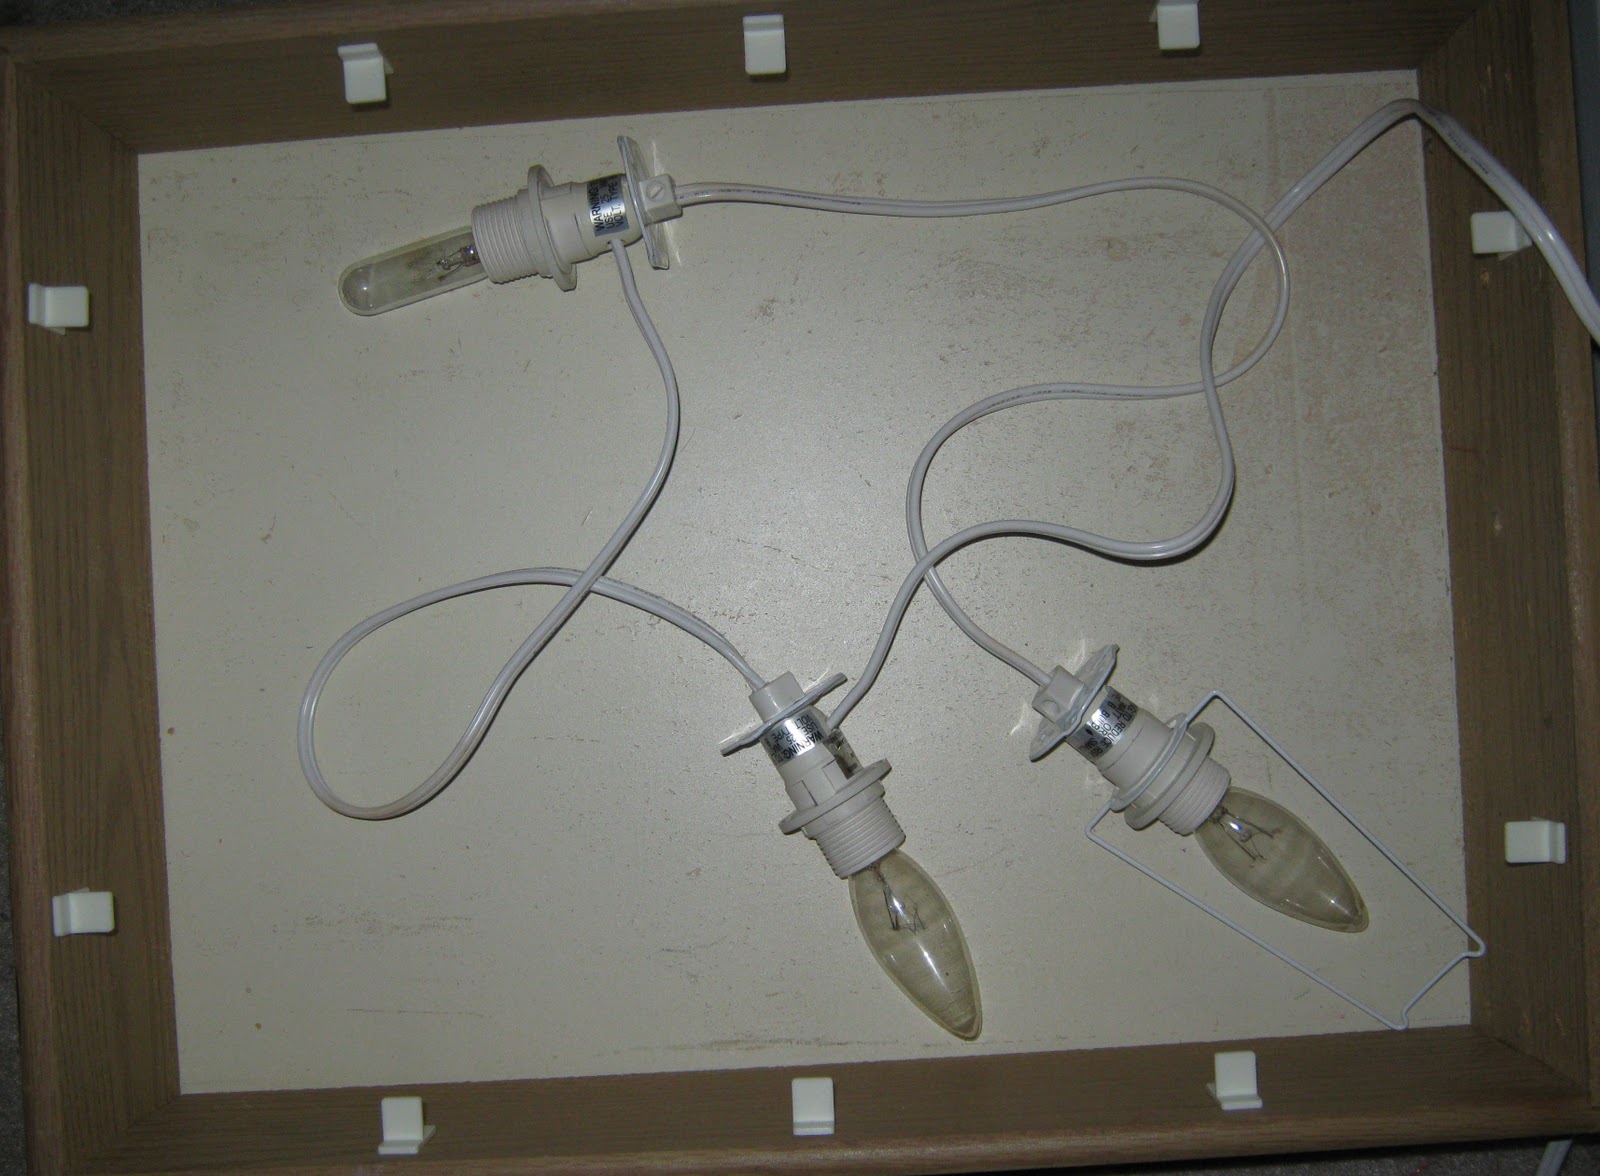 These are 25 watt bulbs.
 It has an on off switch.
 It produced a lot of light!
I am NOT endorsing the company where this product is sold - but this light socket would work awesome as well - they are sold at most craft stores to go in Christmas decorations etc. They have an on and off switch as well.
Darice-Cord-With-Light-White
i love it~i too have seen them made by various people and have had no luck with my own....i so have to try this thank you!
ReplyDeletePlease share apicture of yours when you have it done! I would love to see it!
ReplyDeleteThis is excellent! I think it is better than most of the DIY light boxes out there, more like what I had in mind. I will be trying one someday too! Thanks for the ideas.
ReplyDeletePerfect size and affordable...what more could we ask for? love it!
ReplyDeleteThanks ladies - it was so easy to make and it is the perfect size! :)I also love to make things for next to nothing! :)
ReplyDeletegreat job!! thanks fkr sharing!
ReplyDeleteI saw you on diy under $15!
Thanks - the kids are really enjoying it!
Deletelove this! I have been looking for an affordable lightbox design :)
ReplyDeletenow, I must make one...lol